Effects Brush Tool
![]() This tool
can be used to perform a number of special effects, such as smoke, red-eye reduction, re-color, etc.
It has several modes of operation, selectable from a popup menu. You can set the size of this tool’s tip by setting the
width entry on the toolbox. The level entry changes the tool strength. Use
the palette to change colors.
This tool
can be used to perform a number of special effects, such as smoke, red-eye reduction, re-color, etc.
It has several modes of operation, selectable from a popup menu. You can set the size of this tool’s tip by setting the
width entry on the toolbox. The level entry changes the tool strength. Use
the palette to change colors.
This tool can be operated with a brush object if one is available, however, some custom brush functionality will not be available.
This tool is pressure sensitive when using a graphics tablet; the pressure varies the width of the tool tip.
You can select a brush-tip mode for this tool.
| Options | ||||
|---|---|---|---|---|
This option simulates a highlighter pen. Combine this with a custom brush to create realistic and artistic hightlights.
|
||||
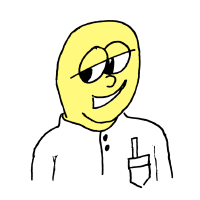
This option replaces colors in the image with color 1, without affecting the natural tone and lighting of objects in the image. In the example below, all colors are being replaced with purple.
|
||||
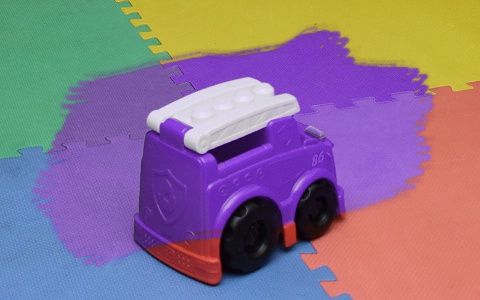
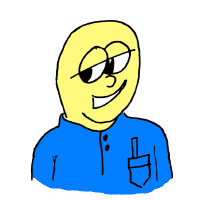
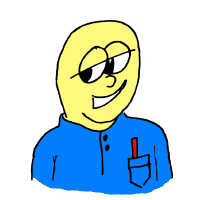
This option replaces colors in the image with color 1, but only where the hue closely matches color 2, without affecting the natural tone and lighting of objects in the image. The effect level determines how selective it will be. In the example below, the only colors being replaced with purple are the red hues.
|
||||
This option spreads out color without affecting texture or sharpness.
|
||||
This option is used to add color to black-and-white photographs. The brush adds color 1 to the area while maintaining brightness and tone. Just run it over the area to be colored. See Example 1: Coloring Photos for more information.
|
||||
This option is used to add color to black-and-white drawings and cartoons. The brush adds color 1 to the area while maintaining brightness and tone. Just run it over the area to be colored.
|
||||
This option is used to remove color from photographs.
|
||||
This option is used to add a sepia-tone effect to photographs.
|
||||
This option is used to apply background color to transparent/translucent areas in a layer as if one was painting behind it. Just run it over the area to be underpainted.
|
||||
This option is used to apply foreground color to opaque areas in a layer as if one was painting on the object in it. Just run it over the area to be overpainted.
|
||||
This option is used to brighten under-exposed regions of a photograph.
|
||||
This option is used to darken over-exposed regions of a photograph.
|
||||
This option attempts to correct the red-eye effect introduced by the "flash" used by digital cameras. Just run it over the red portion of the eye.
|
||||
This option is intended for applying regular shade, for example a shadow.
|
||||
Acts like a translucent brush of some sort - it adds just a little bit of the selected color to the area. You can use it to draw smoke by adding a little black to the area over a chimney, for example. Or some white to the sky for clouds...
|
||||
This option is used to apply censorship to images where privacy or ethical issues are a concern. Just run it over the area to be censored.
|
 Highlight
 Recolor
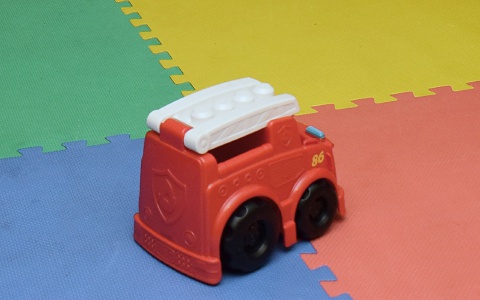
 Selective Recolor
 Chroma Blur
 Colorize Toon
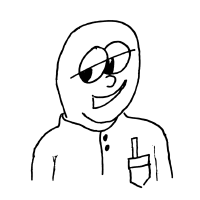
 Decolorize
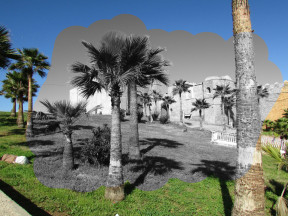
 Sepia-tone
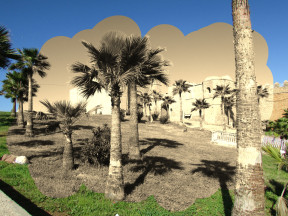
 Underpaint
 Overpaint
 Dodge
Dodge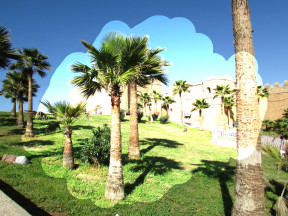
 Burn
Burn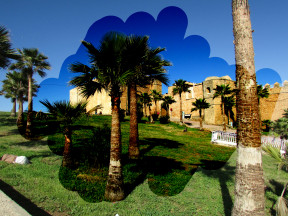
 Red-eye Reduction
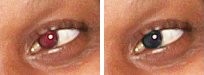
 Shadow
 Smoke
Smoke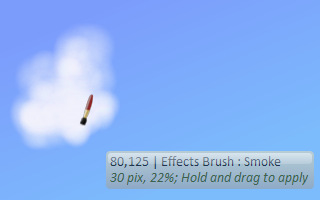
 Pixelate
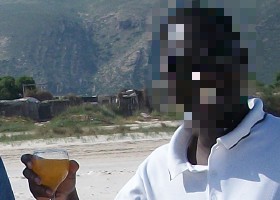
Example 1: Coloring Photos
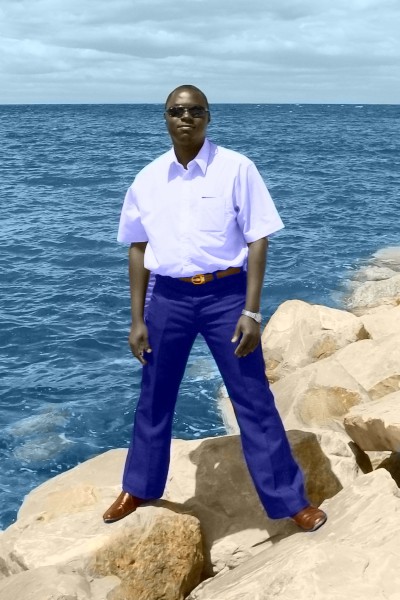
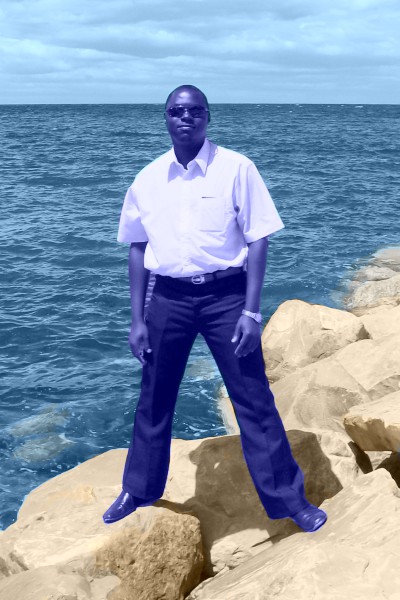
For this exercise, we will start with a back-and-white photo, then use the colorize fx brushes to add color to it until we end up with a full color photo. This is the image we’ll use:
Yes, that’s yours truly at some stony beach very far away from Kenya (we have the best sandy beaches in the world) very many years ago.
Copy this image into your Chasys Photo window and select dark blue as your current color.
From your toolbox, select the Effects Brush tool ![]() and select its Colorize Foto option
and select its Colorize Foto option  .
Set the brush width appropriately (width parameter on the Tool Options tab) and paint yours truly in blue as shown below:
.
Set the brush width appropriately (width parameter on the Tool Options tab) and paint yours truly in blue as shown below:
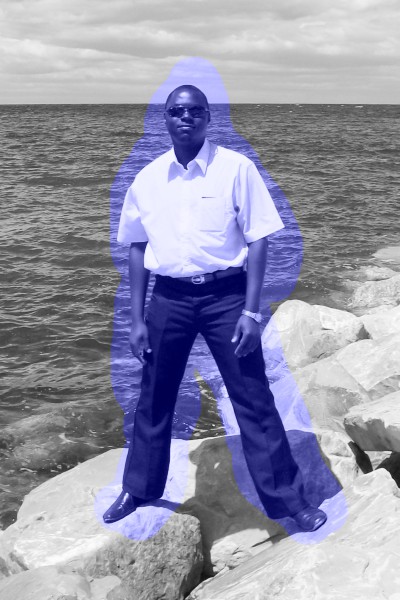
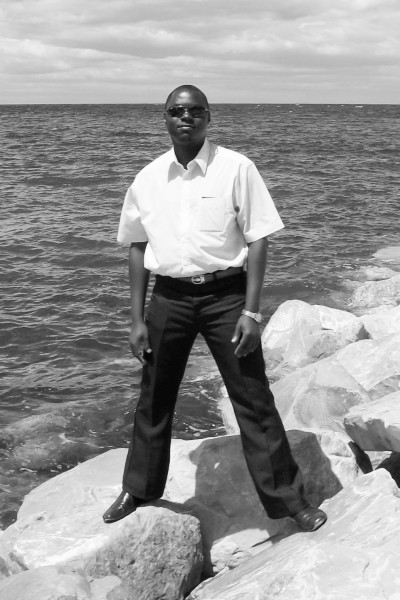
The dark blue you’ve just applied is the color of the trousers and the shirt (same hue, different shade), so we’ve already made some progress. Select a dull cyan or green-blue color for the ocean water. Paint out the ocean, being careful not to recolor me or my trousers. Reduce the brush size if you need to; this might be necessary when coloring the finer details like the parts near the shirt or the space between the right arm and the trousers:
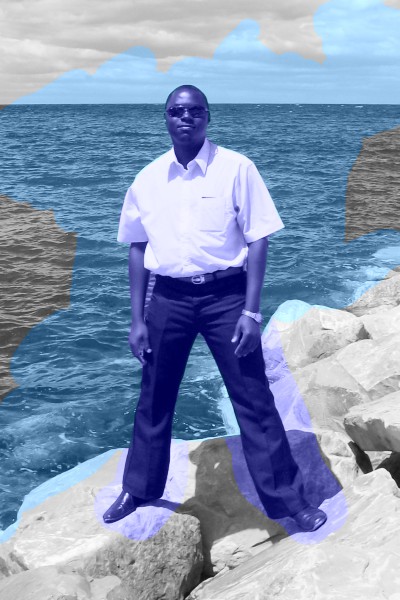
Now, we need to color the rocks. For this, set the color to pale brown as shown below. It doesn’t matter how you set the color, as long as it looks like a proper color for the rocks. Color the rocks. Be careful not to let the color spill over to the ocean or onto my shoes and clothes. If you do, you’ll have to colorize those again. You may have to change to a very pale shade for the rockes that are partially submerged. Make sure you get all the rocks, as shown below:
We’ve already colorized the largest elements in the image, so from this point onwards you might need to work with a smaller brush tip, perhaps 10 pixels wide or less. But this is totally up to you. I’m sure I’m not blue in color, so we need to fix this. Set the current color to skin brown and do my face and hands as shown below:

Next, pick a shade of brown that’s close to leather brown and do the belt and shoes. Watch out for the fine details, like the trouser loops through which the belt goes and the belt buckle:

Next, do details like hair, shades and watch with black, black and grey respectively. In case you are wondering why we are doing the watch in black, it’s because black, grey and white are just shades of the same color: no color. Also do the soles of the shoes in black. Do the belt buckle in gold – a pale yellow color with a brush tip of two or three pixels should work just fine. Add orange patches for the rocks to make them more realistic:

Painting out the edges is hard work, and I don’t expect that you managed to do it perfectly – you probably have a little spillage here and there. Don’t worry, this can be fixed easily. From the Effects menu, select Camera then Color Fringing. Color Fringing Correction reduces color artifacts in photos. 20% should be good enough. Click okay to apply. Your final picture should look like the one bellow. Not too shabby, huh? Careful examination will reveal that our little coloring job wasn’t perfect (for example, the blue of the ocean should fade into grey towards the foreground), however, for a first job, it isn’t too bad.